


Inspiration | News | Interior Decorating Tips | Wallpaper | July 19, 2019
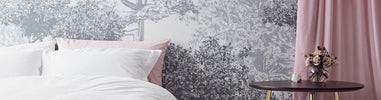
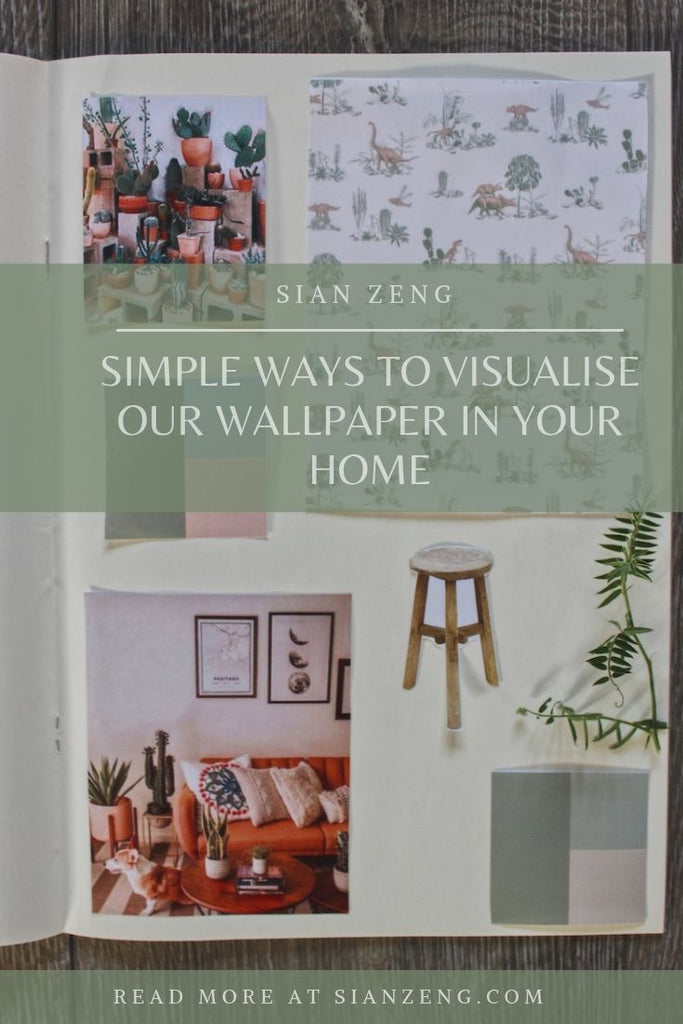
Simple Ways to Visualise Our Wallpaper in Your Home

It’s a question we hear a lot… I want to use wallpaper in my home but how can I be sure it will look good?
Sure, if you’re an interior designer you already have the tools and skills to visualise a space before it’s actually put together. But lots of people aren’t familiar with software such as photoshop. That’s why we’ve devised a handy method to help our customers visualise their chosen wallpaper in their home.
To give you more confidence in your choice of wallpaper, we’ve created A4 sized printouts of all of our repeat patterns, which you can download here for use in your visualisation. If you already have a room in mind for your wallpaper, then the method below involves you taking a picture of your chosen space for use alongside our printouts. We hope it helps.
You will need the following tools to begin: a computer, printer, scissors and glue.
Step 1
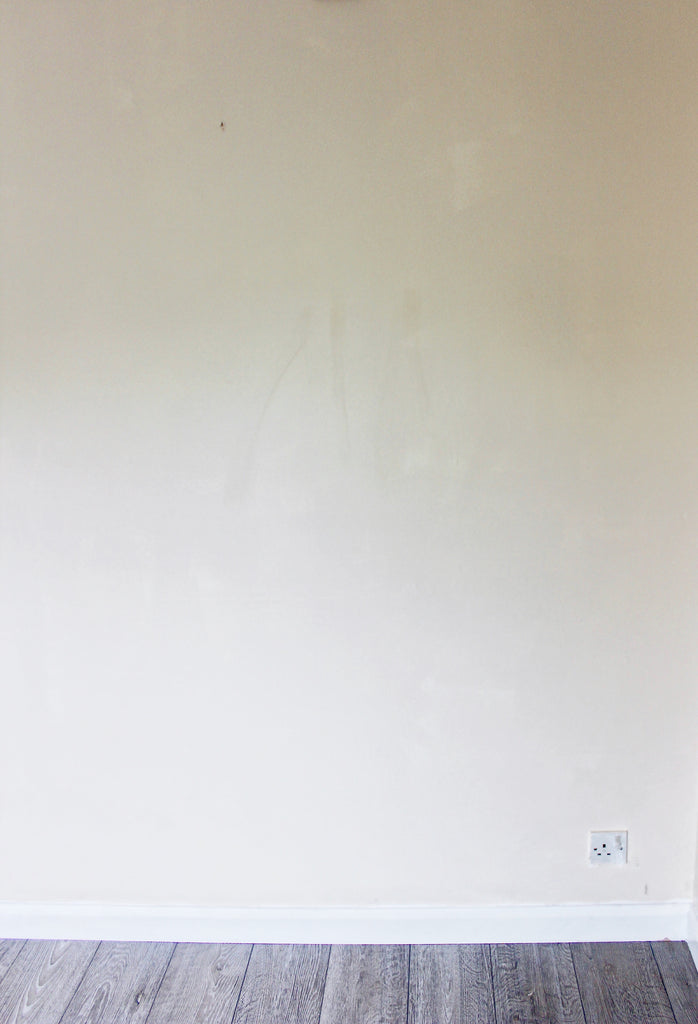
Take a picture of the room you would like to wallpaper with your phone or camera.
Step 2
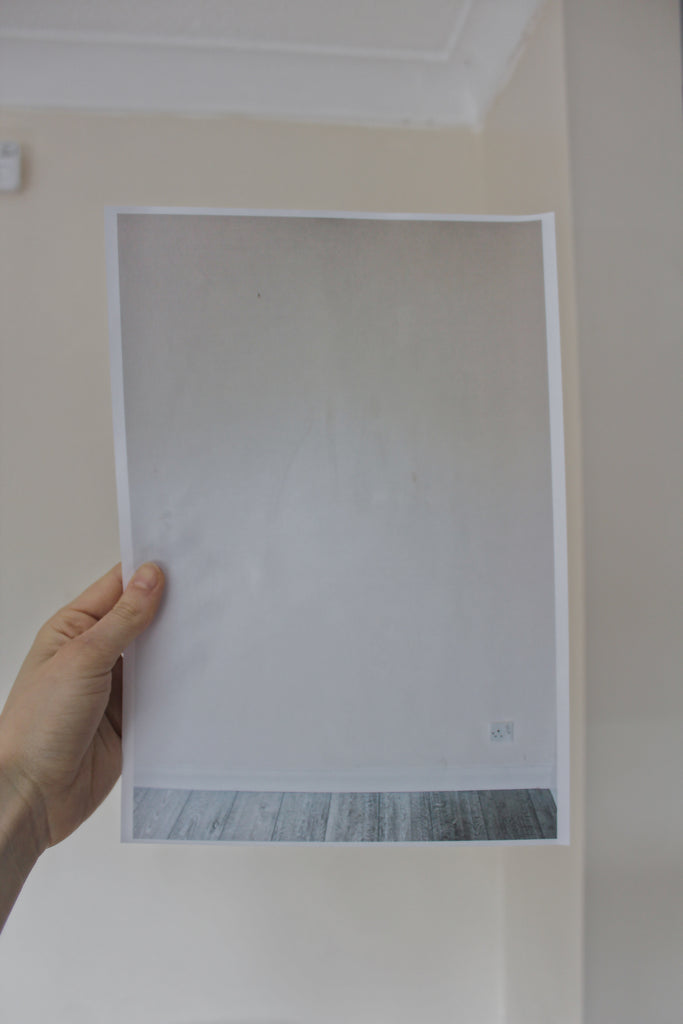
Upload the image to your computer and print it out. It doesn’t need to be high resolution, just clear enough for you to envision how the space will look when decorated.
Step 3
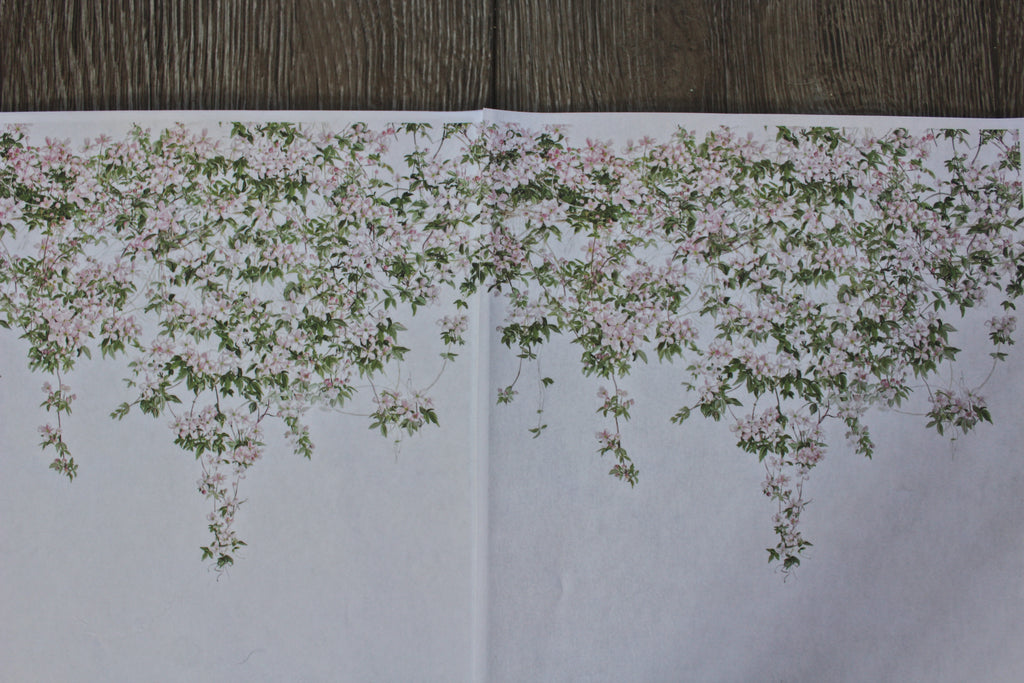
Hop on your computer again, have a look at our patterns and decide which ones you want to print out and try in your chosen space. You could try them all if you like, or just the ones that stand out to you. Download the patterns you have in mind and print them out. Note how the patterns repeat sideways as well as downwards.
If the A4-size pattern is enough to cover the wall area in your printout, great. If not, print out more A4-size patterns to cover your photographed wall.
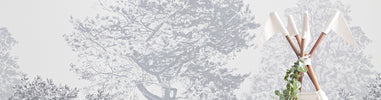
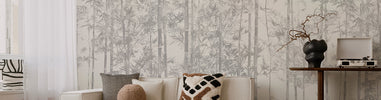
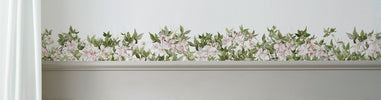
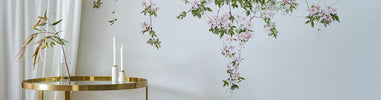
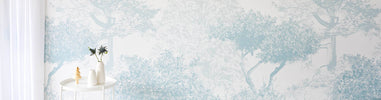
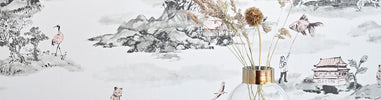
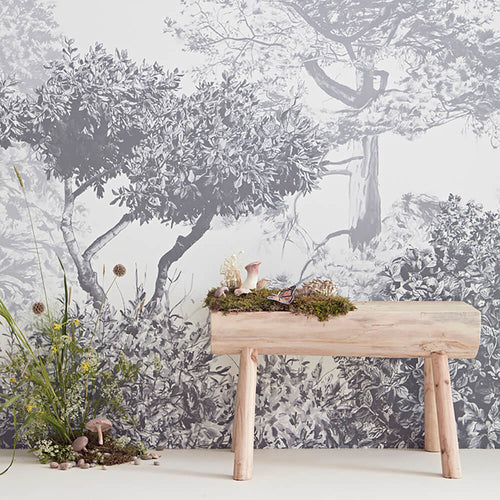
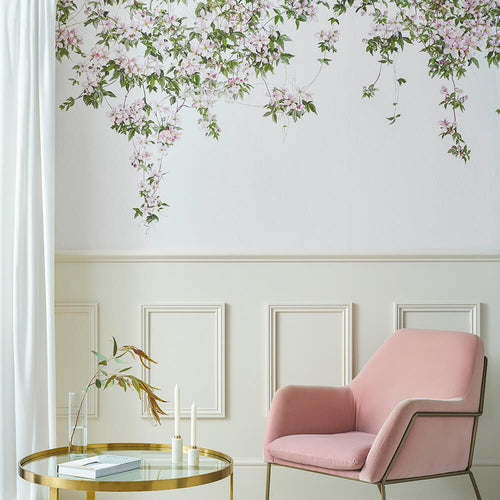
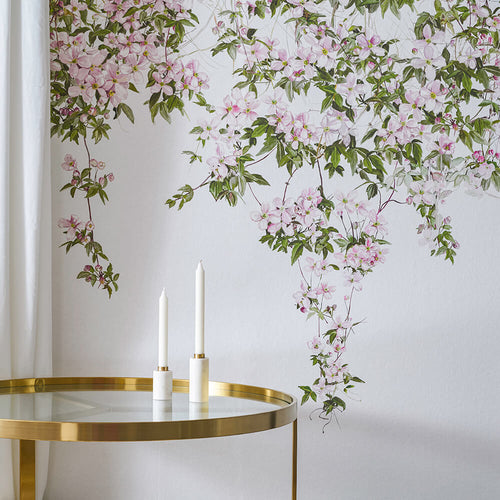
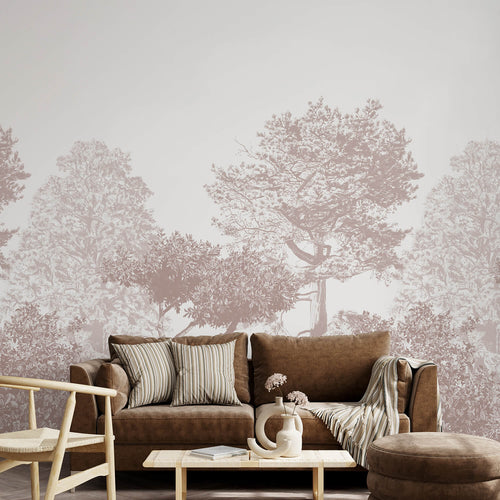
All of our patterns are repeated so when you print them out they overlap. However, this isn’t the case for our Mural Wallpapers (Hua Trees and Clematis) because our patterns would have become too small. With these, simply place next to each other to make them repeat. You can trim the excess off where necessary.
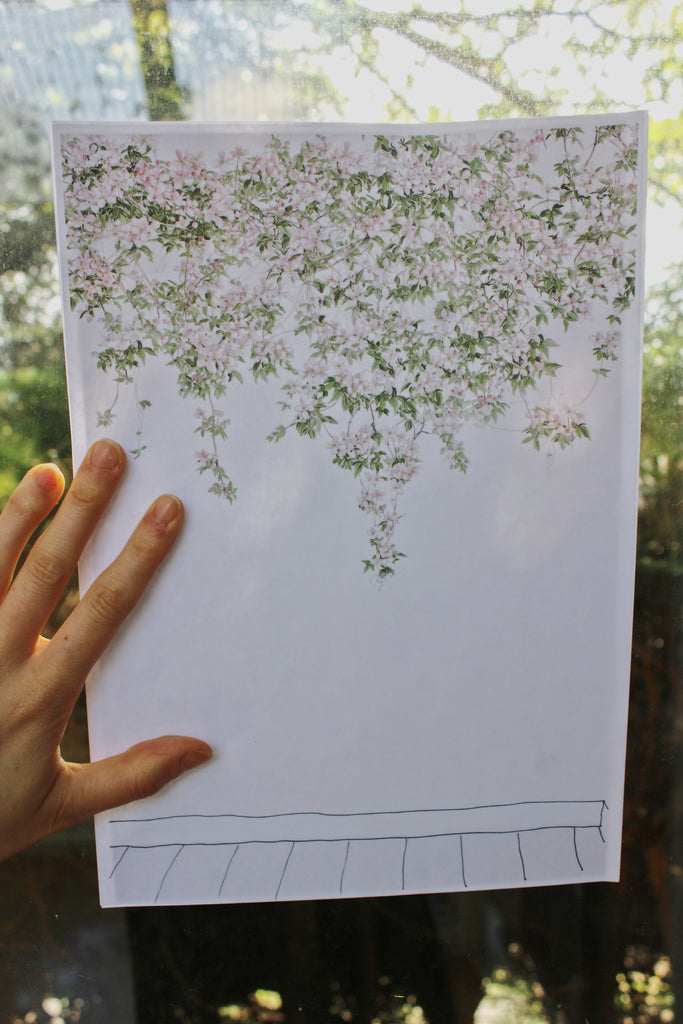
FYI...It’s easier to see where they overlap if you hold your printouts up against a window. Don’t worry if you don’t get exactly right; this is just a mock up after all!
Step 4
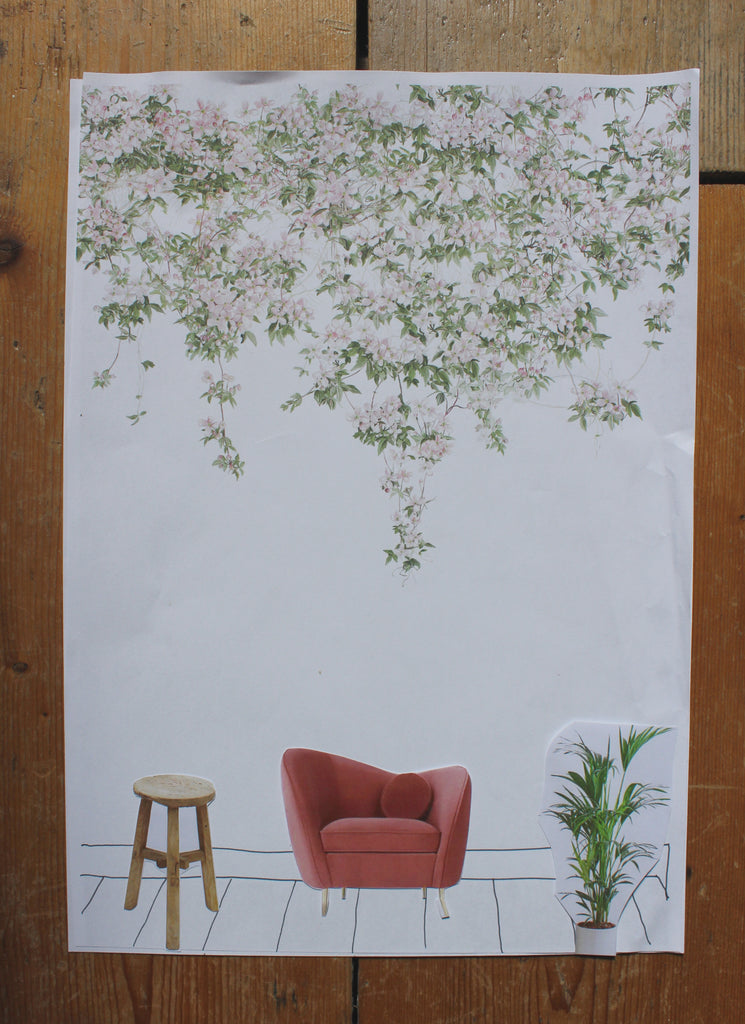
Go back to the image you printed out of your chosen space and place the pattern printout over it, then hold both sheets against the glass of a nearby window. This enables you to see where your wall space is underneath the pattern.
Use a pencil to mark the outline of where the wall space is on your pattern, then cut your pattern out and glue it over the image of your chosen space.
If you want to visualise different patterns in the same space then don’t glue the pattern onto the picture, but repeat steps 1-4 with a different design. Do this as many times as you like until you are happy with your visualised room.
Step 5
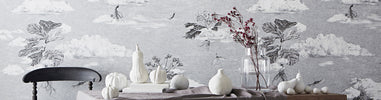
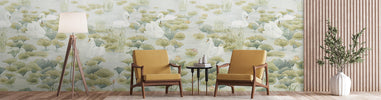
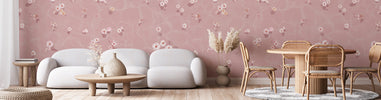
Now you have your wallpapered wall all mocked up, you could start to see how furniture and other homewares might look in your chosen room. Simply save pictures of furniture you like, print and cut them out, then add them to your mockup.
Many furniture companies have images of their stock with white backgrounds, so this should be pretty easy. Below we have included the Kooper Accent Chair in Blush Pink from Made.com, the Vintage Elm Stool from Oggetto and the Big Ken Kentia Palm from Patch.
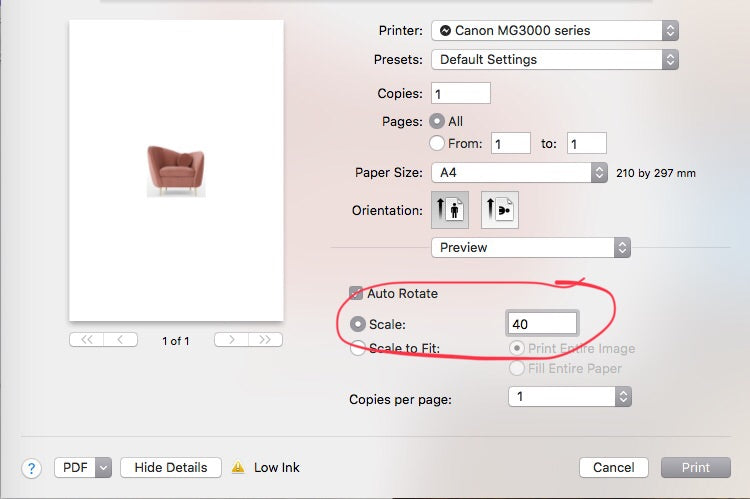
If you want to adjust the size of your images, you can always instruct your printer to print the image larger or smaller - there should be a percentage sign in the advanced settings which allows you to do this. We recommend adjusting it so that it is approximately in proportion to your chosen room.
Alternative Methods
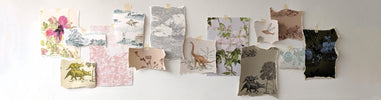
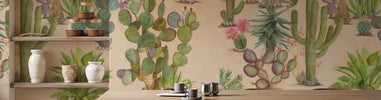
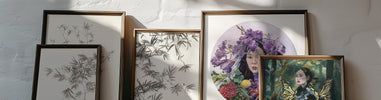
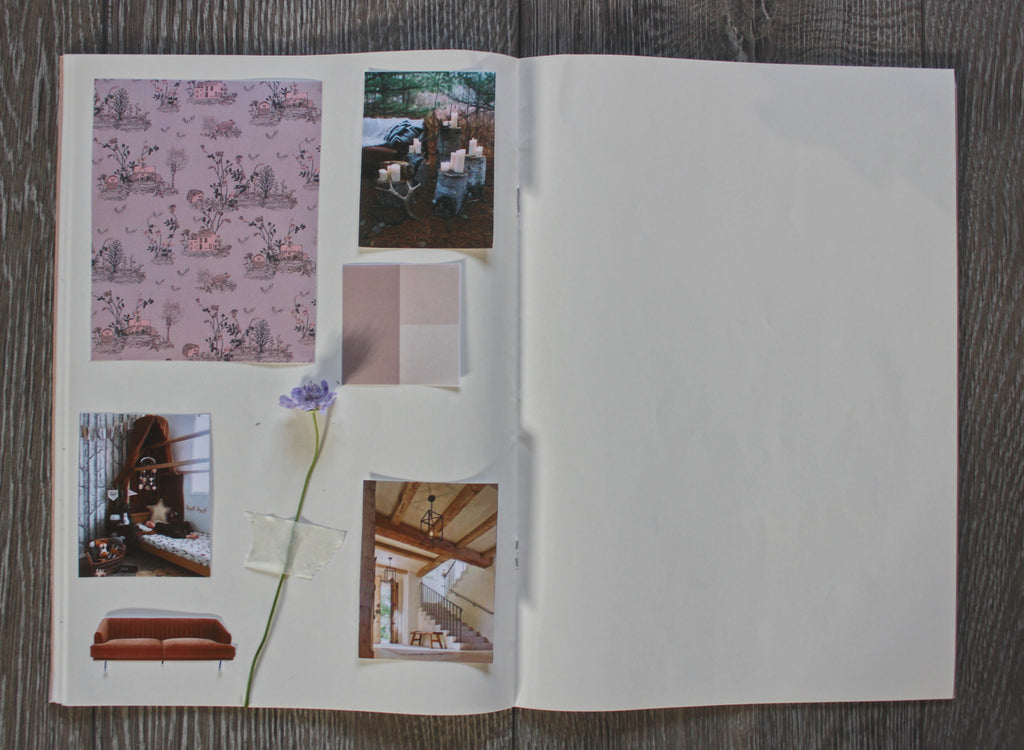
If your flat isn’t readily available for photo taking, then simply use our patterns as part of a moodboard. We could talk forever about the importance of moodboarding when decorating a space but essentially, it’s a really great way for you to visualise how the different colours, textures and patterns you want to use will work together; hugely vital if you’re keen to include a striking wallpaper.
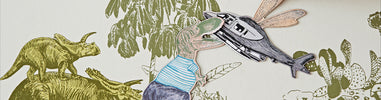
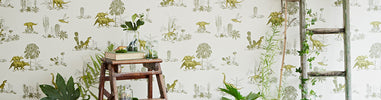
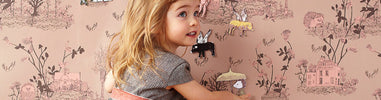
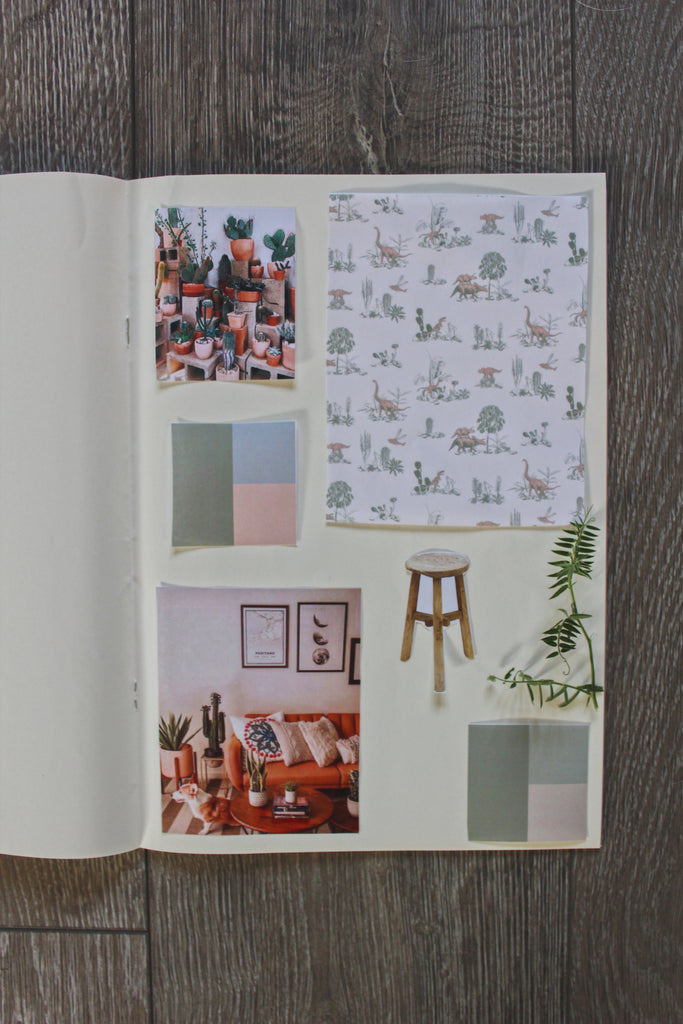
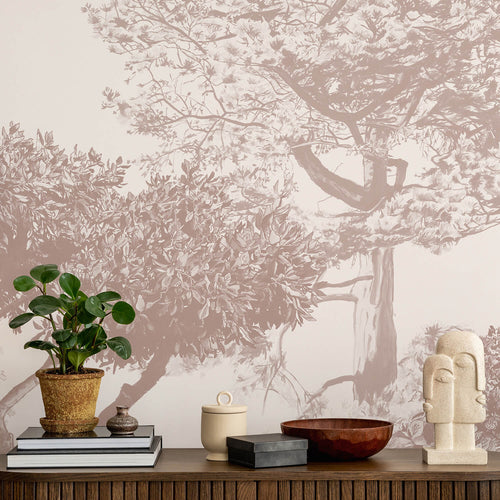
If you are looking to use our A4-sized pattern printouts as part of a mood board, see a few examples we put together below for inspiration, featuring our Woodlands Wallpaper and Dino Wallpaper, paint colours from Farrow & Ball, a Vintage Velvet Sofa from Maisons du Monde and images from Pinterest.
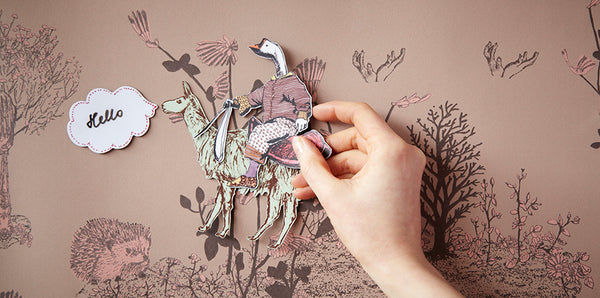
The visualisation process also works really well if you have a dollhouse on hand to wallpaper, which can also be pretty fun as well!
This tutorial is suited to home owners who have the back wall of a room in mind for wallpapering, but you can cover the whole room if you like. The perspectives might not be right, but please do feel free to give it a go, or take shots of different walls from different angles. This method is here to give you some ideas about how you could visualise wallpaper in your space. Above all else, we urge you to get creative with it!
We hope this blog gives you more confidence in your choice of wallpaper but please feel free to get in touch with any more questions and we’ll be happy to answer them for you.
Pin it for later
Read more from our blog:
Bed Frame Ideas for Wallpapered Walls


£245.00
£245.00
£245.00


Leave your comment!